Easy Hawaiian Pineapple Coconut Poke Cake
This Easy Hawaiian Pineapple Coconut Poke Cake is a light, tropical-inspired dessert that’s perfect for any occasion. With its moist vanilla cake base infused with pineapple juice, creamy coconut-vanilla pudding, and a fluffy whipped topping, every bite tastes like a mini vacation. Simple to prepare and made with everyday ingredients, this poke cake is ideal for potlucks, family gatherings, or whenever you’re craving a sweet treat with island flair.
Ingredients
For the Cake
1 box (15.25 oz) yellow or French vanilla cake mix
Eggs and oil, as directed on the box
1 cup pineapple juice (from canned crushed pineapple, used in place of water)
1 can (20 oz) crushed pineapple, drained
For the Pudding Layer
1 package (3.4 oz) coconut cream instant pudding mix
1 package (3.4 oz) vanilla instant pudding mix
4 cups cold milk
For the Topping
1 container (16 oz) whipped topping (or about 3 cups freshly whipped cream)
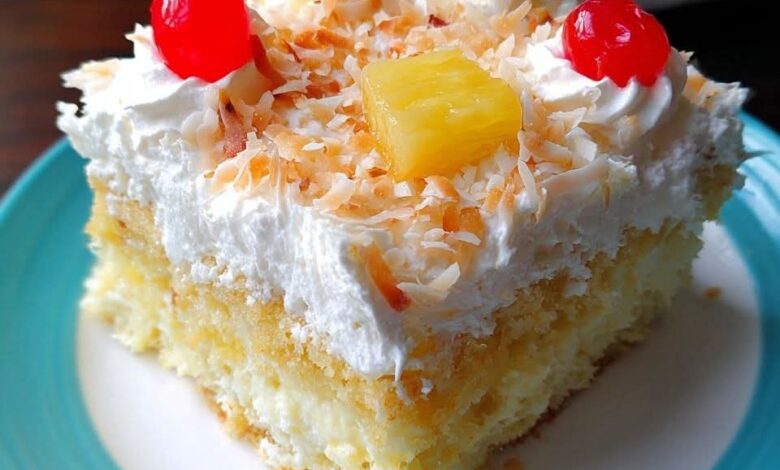
½ cup sweetened shredded coconut, toasted
Maraschino cherries or pineapple slices (optional, for garnish)
Instructions
Preheat the Oven
Preheat your oven to 350°F (175°C). Grease a 9×13-inch baking dish.
Prepare and Bake the Cake
In a large bowl, prepare the cake mix according to package instructions, replacing the water with pineapple juice. Pour the batter into the prepared pan and bake as directed, until a toothpick inserted in the center comes out clean.
Cool and Poke the Cake
Let the cake cool for about 10–15 minutes. Using the handle of a wooden spoon, poke holes evenly over the surface of the cake.
Make the Pudding Mixture
In a separate bowl, whisk together the coconut pudding mix, vanilla pudding mix, and milk until slightly thickened. Stir in the drained crushed pineapple.
Fill the Cake
Pour the pudding mixture evenly over the cake, making sure it seeps into the holes. Cover and refrigerate for at least 1 hour to allow the cake to set.
Add Toppings
Spread the whipped topping evenly over the chilled cake. Sprinkle with toasted coconut and garnish with cherries or pineapple slices if desired.
Conclusion
Easy Hawaiian Pineapple Coconut Poke Cake is a refreshing, crowd-pleasing dessert that delivers big flavor with minimal effort. Moist, creamy, and full of tropical sweetness, it’s perfect for celebrations or casual get-togethers alike. Once you try it, this simple poke cake is sure to become a favorite go-to dessert whenever you want something sweet, easy, and unforgettable.